- By Bornika Das
- Wed, 12 Nov 2025 04:21 PM (IST)
- Source:JND
Methi Growing Tips: Most urban city houses don’t have space for a backyard garden. They are turning to balcony or window-side pots to grow vegetables and greens of their choice. This “urban gardening” trend is blooming, making people enjoy their homegrown produce. Among the easiest plants, growing methi or fenugreek on the balcony is most rewarding, especially in the winter. Whether you’re planning for methi paratha or methi malai kofta, this leafy green herb grows in no time, ideally in just 20-25 days. Growing methi in a balcony not only adds beauty but also nutrition to your daily meals.
Fresh, aromatic methi leaves make an ideal starter plant for beginners as well as gardening enthusiasts. This is a very low-maintenance plant and requires minimal sunlight and care. All you need is good-quality soil, fenugreek seeds and some methi growing tips in mind to grow a healthy batch at home. Here’s a step-by-step guide for growing methi on a balcony in 20 days.
How To Grow Methi At Home On Balcony
Step 1: It is important to choose the right pot for methi cultivation. Fenugreek roots spread sideways, thus wide planters are better than deep ones. A depth of 6-8 inches works well. Make sure the pot has proper drainage to prevent root rot. Clean, sturdy trays or boxes can also be reused.
Recommended For You


ALSO READ: How To Grow Oregano In Pots For Your Balcony Garden? A Step-By-Step Guide
Step 2: Methi needs loose, well-draining soil. Mix garden soil with a bit of compost and cocopeat or sand to improve texture. Keep the soil slightly moist. You can add organic compost, which helps the leaves grow healthier and fuller. Avoid using heavy clay soil that can stunt root growth.
Step 3: If you want quick germination, soak fenugreek seeds for 6-8 hours. Spread the softened seeds evenly over the soil and press them in gently. Cover with a thin layer of soil. Place the pot in a sunny spot after sowing.
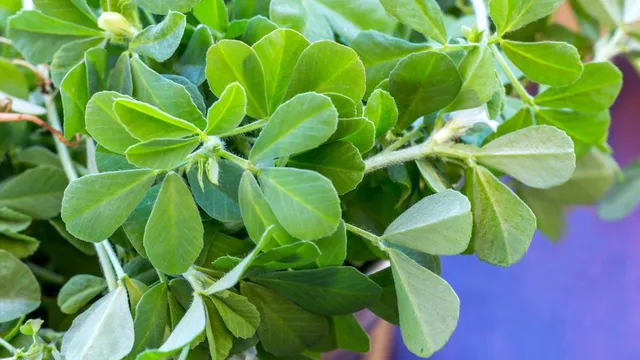
Methi Growing Tips On Balcony (Image Credits: Canva)
Step 4: Water gently after planting. In the first week, steady moisture is crucial. However, avoid overwatering as it can rot the seeds. Use a spray bottle or a watering can with small holes so the soil is not disturbed.
Step 5: Methi thrives in sunlight, thus ensure the pot gets 4-6 hours of direct sun daily. If your balcony receives limited light, rotate the pot every couple of days for even growth.
Step 6: Once the sprouts grow about two inches, thin them out by removing crowded seedlings. This gives the remaining plants enough space and airflow, preventing fungus. The removed sprouts can be used as microgreens in salads.
ALSO READ: Top 6 Medicinal Herbs You Can Easily Grow In Your Balcony Garden For Everyday Natural Remedies
Step 7: When the leaves look full and lush, it means that they are ready to harvest. This usually happens around 20-25 days. Cut the leaves slightly above the soil so the roots can regrow a second batch. Don’t wait too long, or the leaves may turn bitter. Freshly harvested methi is the most nutritious.
Thus, growing methi fresh on your balcony is easy, practical and appealing, bringing greenery as well as good health. You can use these lush greens in your meals to add flavour and nutrients.