- By Bornika Das
- Fri, 05 Sep 2025 06:01 PM (IST)
- Source:JND
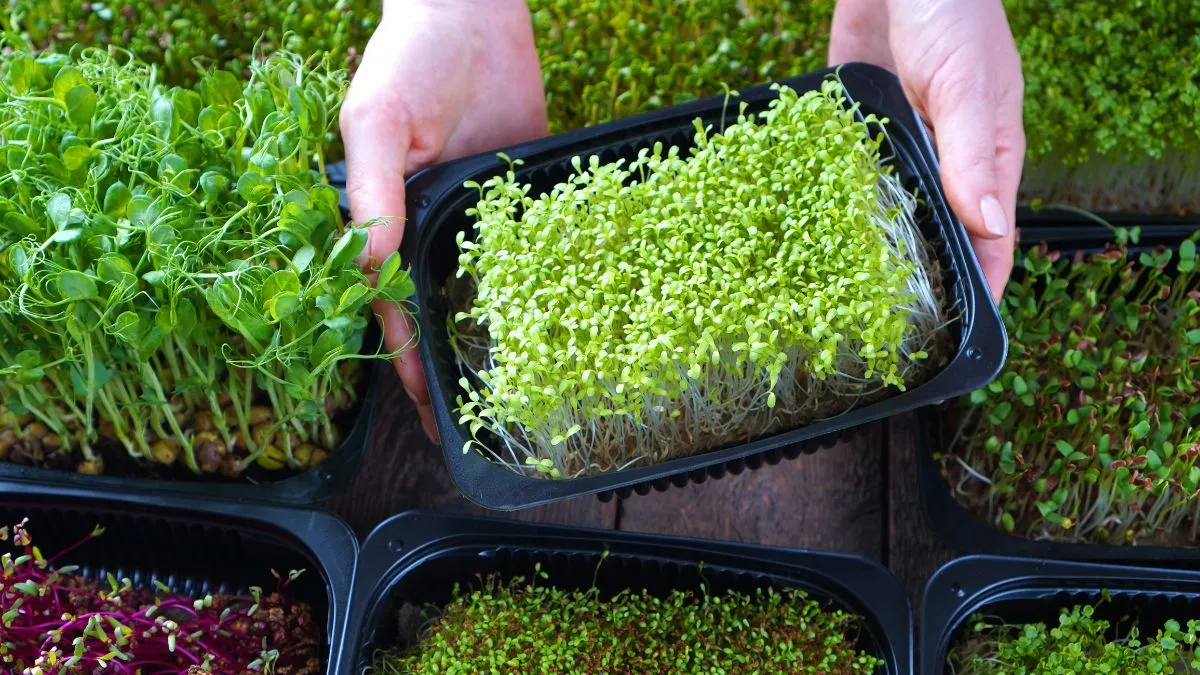
Grow Microgreens At Home: Microgreens are a favourite among Indian households, as they cherish the tradition of adding freshness to their meals. Growing microgreens at home doesn’t need a big garden or costly equipment, but little care and patience. Microgreens are small, nutrient-dense and can be easily grown in the kitchen, on the balcony or even in a sunny windowsill. And the best part is, these tiny, tender shoots of vegetables and herbs don’t need more than 10 days to grow. Organic microgreens are full of vitamins, minerals and antioxidants compared to mature greens.
Microgreens at home can be grown in little rooms and are quite affordable, which brings freshness to the daily palate. Moreover best microgreens for the Indian climate include fenugreek (methi), coriander and mustard and also broccoli, radish, and sunflower, which you can grow as per your personal taste and requirements. With little care and effort, these microgreens boost immunity and also benefit overall health. By following the steps below, you can easily grow microgreens in 10 days.
Steps To Grow Microgreens At Indian Households
Step 1: Choosing Your Seeds
You can grow sunflower, fenugreek, mustard, radish, coriander and even wheatgrass. Beginners can choose mustard and fenugreek as they are easy to grow. Buy untreated, organic seeds which are safe for consumption.
ALSO READ: 5 Beautiful Plants That Will Turn Your Balcony Garden Into A Butterfly Paradise
Step 2: Setting Up The Growing Tray
You can use an old baking tray, a few shallow plastic boxes or even unused tiffin lids. Make some drainage holes at the bottom to avoid waterlogging. Spread a thin layer of cocopeat or a regular potting soil.
Step 3: Sowing The Seeds
Soak the seeds overnight, for instance, mustard for six hours, sunflower for almost 12 hours. The next day, scatter them evenly across the soil surface, gently pressing them down. Instead of burning them deeply, sprinkle a fine layer of cocopeat to cover them.
Easy Steps To Grow Microgreens At Home (Image Credits: Canva)
Step 4: Water And Darkness
Do not water the microgreens too much. Just a gentle mist from a spray bottle would suffice. Cover the tray with a lid, and create a dark, cosy environment for the seeds to germinate. After two days, the soil will be alive with tiny white shoots. Every morning, check moisture levels and mist whenever the soil feels dry.
Step 5: Light And Care
As the sprouts grow taller, remove the cover and place the tray near the window where sunlight comes in. In a week, the shoots will turn into bright green leaves, ready to harvest.
ALSO READ: 6 Magical Moon Garden Plants To Brighten And Beautify Your Home
Step 6: Harvesting The Greens
After about 10 days of sowing, take a clean pair of scissors and snip the delicate greens just above the soil line.
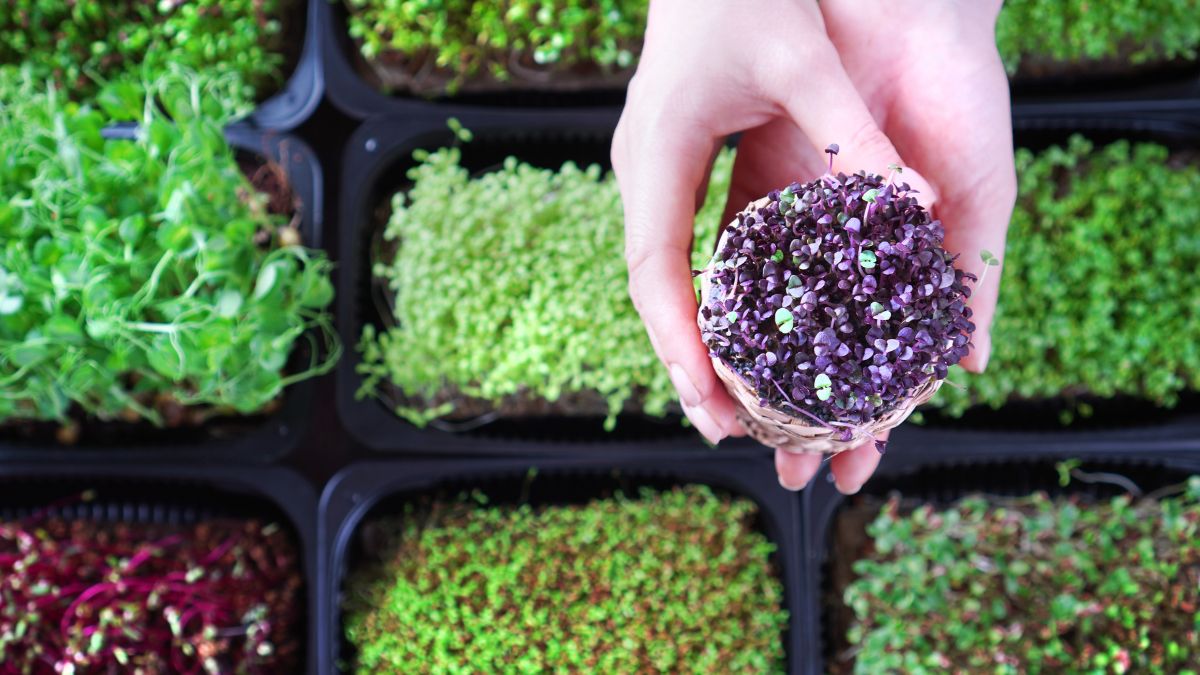
Harvesting microgreens at home is easy and affordable and you can see the result in just 10 days. By following these steps, you can enjoy the greens and add flavour to your dishes.

