- By Iram Hussain
- Thu, 02 Jan 2025 12:26 PM (IST)
- Source:JND
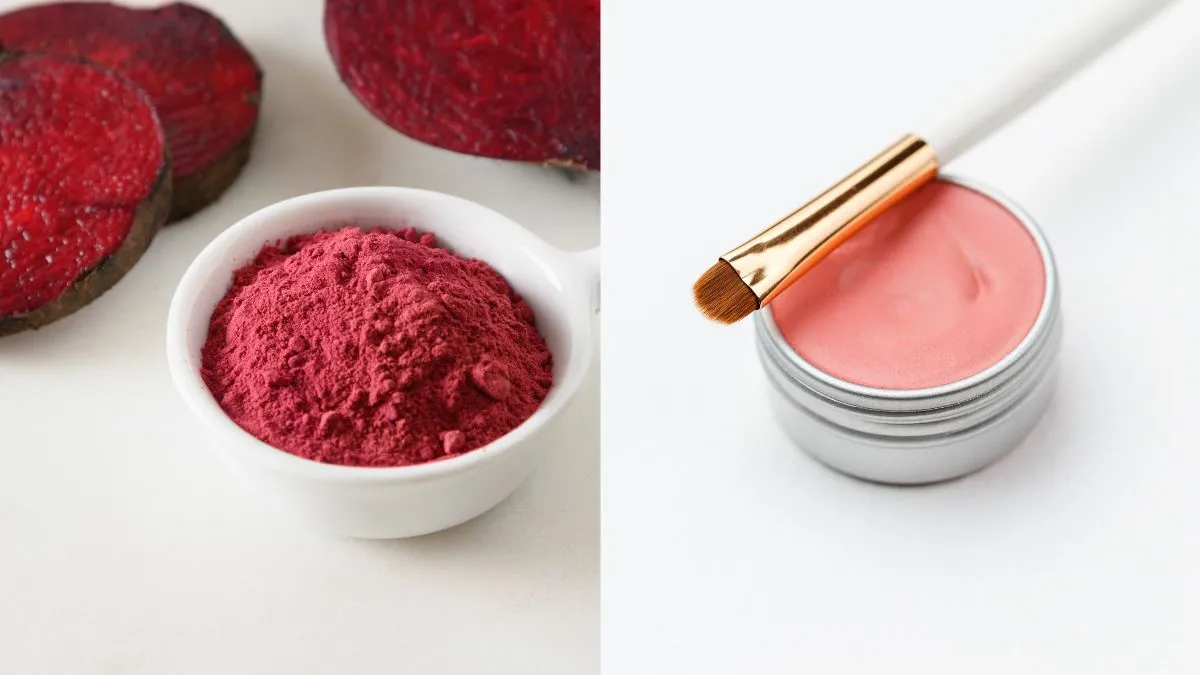
Steps To Make Beetroot Cheek Tint: We often rely on market skincare products while neglecting the potency of natural ingredients available right in our homes. Beetroot, one of the most vibrant vegetables is a treasure trove of skincare benefits. The antioxidants and vitamins present in beetroot also help to nourish and protect the skin, making it a wonderful addition to any skincare routine. Not only does it provide a natural glow to the face but it can also be used as a cheek tint, adding a rosy blush to the cheeks.
Using beetroot tint on the cheeks creates a radiant and natural-looking flush that enhances beauty without any harsh chemicals. If you also want to make your cheeks look naturally blushing, then follow these five simple steps to create a beetroot cheek tint at home.
Homemade Beetroot Cheek Tint
Ingredients Required
- 1 Beetroot
- Aloe vera gel
- Coconut oil (or any other carrier oil)
- Beeswax (optional for a thicker consistency)
-1735800531986.jpg)
Ways to make beetroot cheek tint (Image Credits: Canva)
Step 1: Peel and grate the beetroot, then squeeze out the juice by pressing the grated beetroot in a clean cloth or using a juicer. This will extract the vibrant colour and nutrients.
Step 2: Combine 1 tbsp of aloe vera gel with 1/4 tbsp of coconut oil or any carrier oil in a small mixing bowl. This will create a smooth and nourishing base for the tint.
Step 3: Add a few drops of beetroot juice to the aloe vera gel mixture. Stir well until it reaches your desired tint and consistency, adding more juice as needed.
Step 4: If desired, melt 1/4 tbsp of beeswax and mix it into the beetroot gel blend. This will create a thicker consistency and help the tint last longer.
Step 5: Transfer the homemade cheek tint into a small container or a small jar. Store it in a cool and dry place where it should last for up to a few weeks.
ALSO READ: 4 Effortless Ways To Use Beetroot For Radiant Skin
ALSO READ: 5 Best DIY Beetroot Face Masks To Achieve Clear And Bright Skin At Home
(Disclaimer: This article is for informational purposes only. It is not a substitute for professional advice, diagnosis or treatment.)