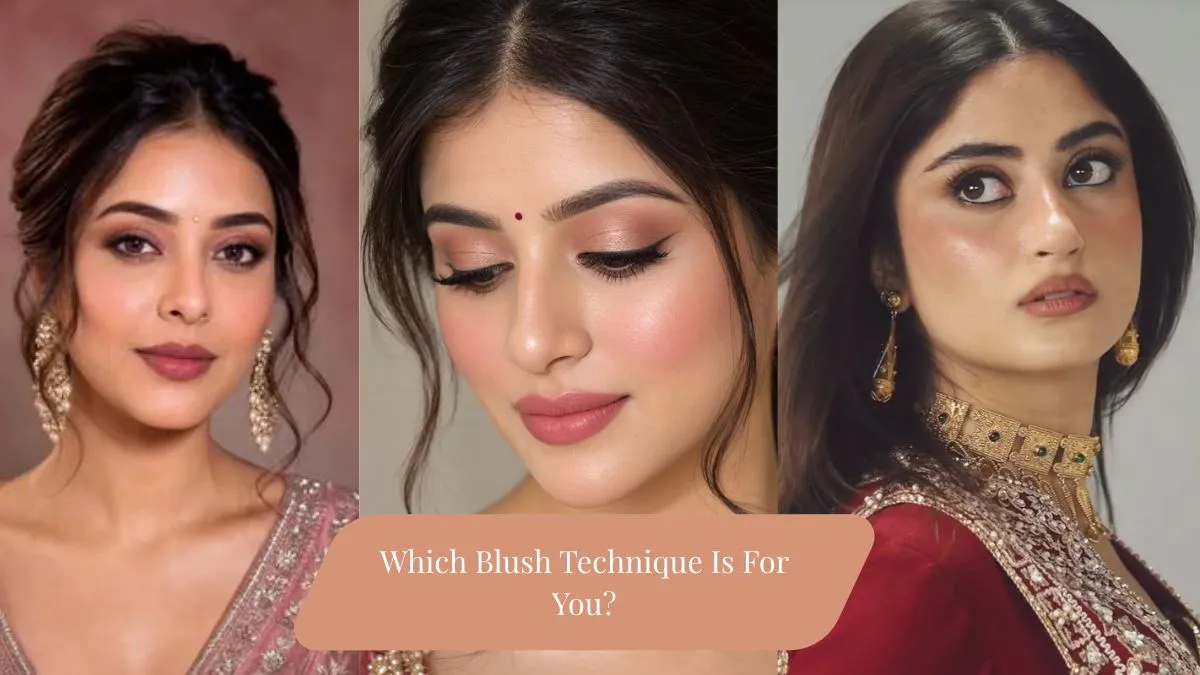
Ever applied blush exactly like your favourite beauty creator, only to see that it looks completely different on your face? This is not because you've done something wrong, but because your blush placement and technique did not align with your face shape. You do not need any professional assistance to learn blush application techniques. We have curated a step by step guide for you.
5 Blush Placements That Actually Suit Your Face Shape
Since faces have different shapes, it is important to know how to apply blush, concealer, or your foundation to uplift your features. Here are five techniques to apply blush in the right way so that your makeup looks perfect.
1. Round Face: Apply Diagonally
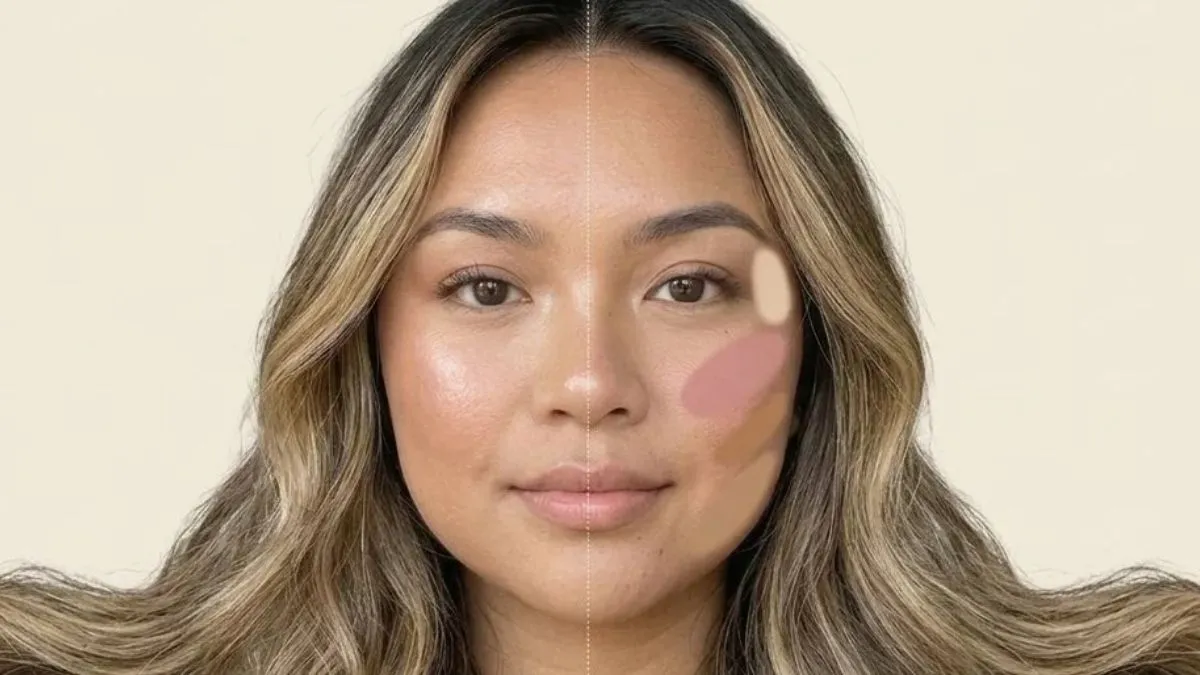
What is the technique to apply blush on a round face? (Image:TDJ)
If you have a round face with fuller cheeks and a softer jawline, try applying your blush in a diagonal manner. This will give you a lifted look instead of highlighting your chubby cheeks.
How to apply it?
Instead of applying all the blush on your cheek apples, start slightly above them and blend upwards towards your temples
Blend the applied blush in the upward direction while smiling gently
Pro Tip: Avoid placing a heavy amount of blush right in the centre of your cheeks if you are aiming for a lifted effect. Also, make sure to blend the edges in a softer way to get a seamless finish.
Recommended For You
2. Oval Face: On Cheek Apples In Tilted Motion
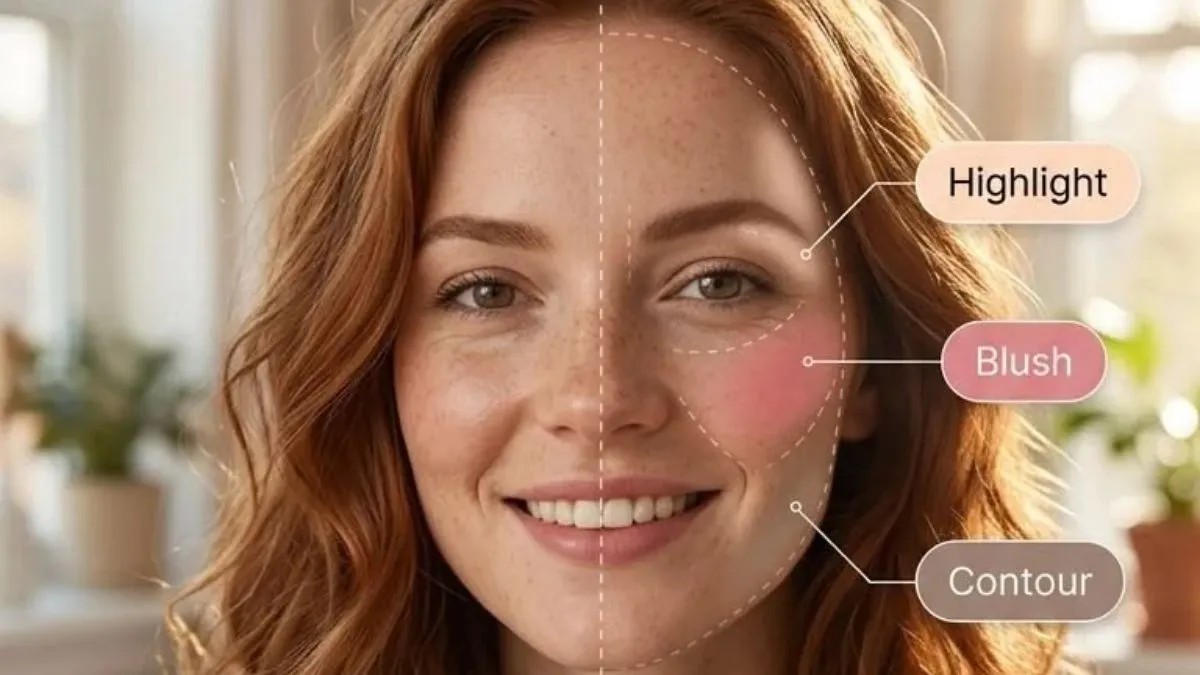
What is the technique to apply blush on an oval face? (Image:TDJ)
If you have an oval face shape, probably most of the blush placements will suit you since your under-eye area has plenty of space to experiment with. For the fresh, natural, plumpy, and rosy look, apply the blush on your cheek apples and blend it in a slightly tilted motion to get that natural yet lifted look.
How to apply it?
- Apply the blush on your cheekbones while smiling a little
- Then blend it with a gentle brush or your hands in a slightly upward direction
- Make sure that you leave no hard edges
Pro tip: Cream and liquid blushes give a fresh, skin-like finish, while powder blush is a convenient option if you prefer a softer, more diffused look.
3. Square Face: Blend Upward And Outward
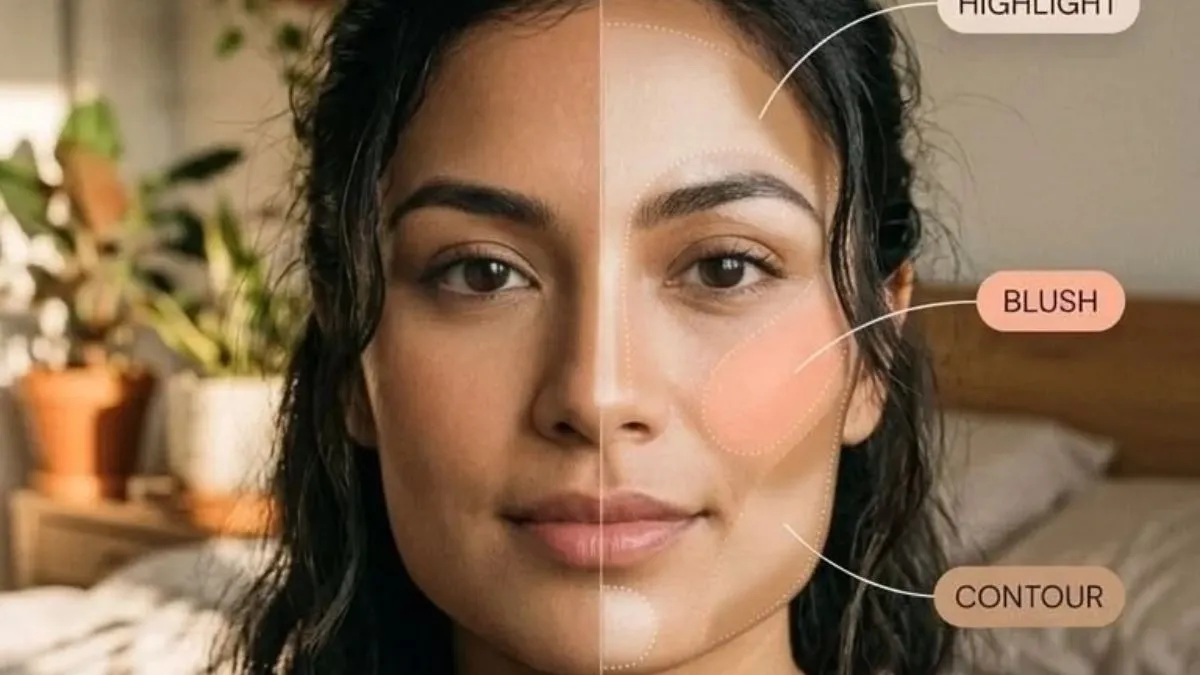
What is the technique to apply blush on a square face? (Image:TDJ)
If you have a more defined jawline and noticeable angles around the forehead and cheeks, then you have a square face shape. Try blending the blush mainly in an upward and outward motion to get that snatched look.
How to apply it?
- Start with the upper area of your cheekbone and apply a very small amount of blush slightly in the outward direction
- Blend the applied blush in an upward direction towards the temples, while keeping the edges soft
Pro tip: Avoid drawing a sharp line of blush across the cheeks, as it will look very harsh even after blending. Also use a fluffy brush or a damp makeup sponge to soften the edges and keep the colour looking natural.
4. Heart Face: In A C shape
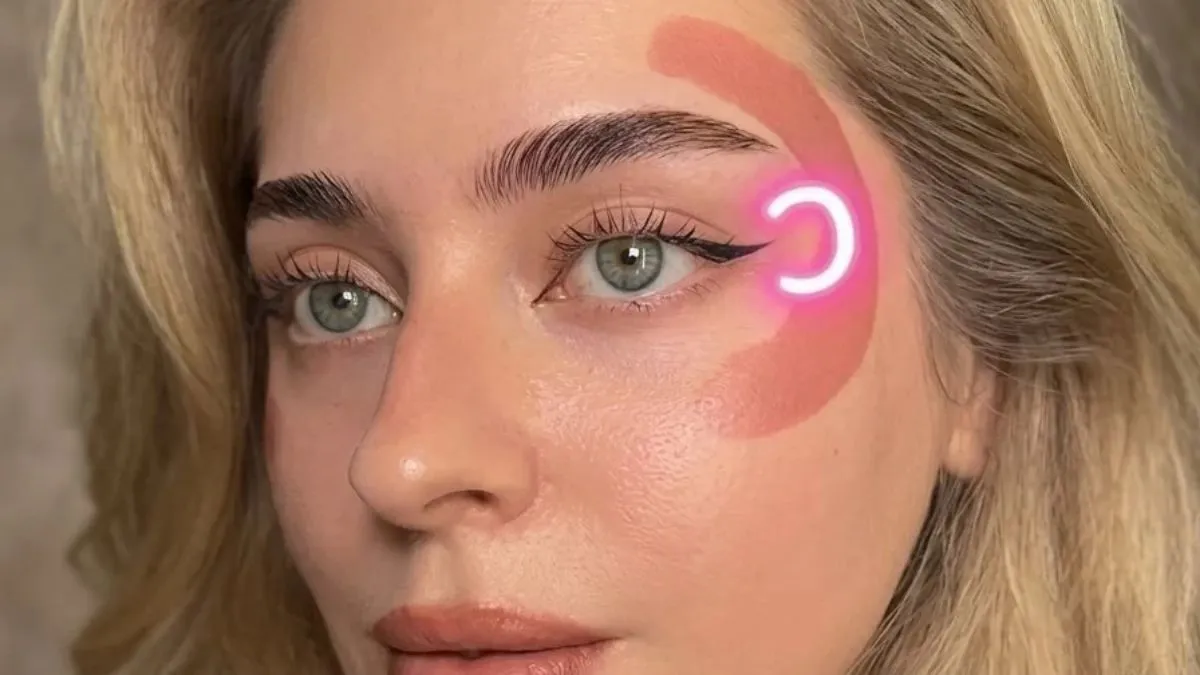
What is the technique to apply blush on a heart face? (Image:TDJ)
If you have a wider forehead and a narrower chin, then you have a heart-shaped face. This means that you have enough space and possibility to experiment with blush techniques. If you want that celebrity-like uplifted look, then try applying your blush in a C shape.
How to apply it?
- Take your blush and try to draw a C from the outer area of your cheekbone to the temple
- Now blend it while dabbing the blush with the help of the blusher
- Lastly, smooth all the edges
Pro tip: To blend it nicely and make it look natural and not forced, use a light hand around the temples and blend the edges carefully. The aim is to create a soft curve rather than a clearly defined stripe of colour.
5. Diamond Face: Top Of Cheekbone And Blend Towards Ear
What is the technique to apply blush on a diamond face? (Image:TDJ)
People with a diamond face shape already have highlighted cheekbones, which means that they do not have to put much effort into highlighting their cheek. Instead, just highlight the top and outward part of it.
How to apply it?
- Firstly, locate the top part of your cheekbone and start applying blush in a slightly outward direction
- Blend it nicely in the same direction towards the ear while softening the edges.
Pro tip: Avoid applying too much product in one spot, as it can make the cheek area look overly concentrated. Instead, you can start with a little blush and build the intensity only where needed.
ALSO READ: The 3-Feature Rule: Makeup Professional Reveals What To Highlight On Your Face For A Polished Look
Quick Comparative Analysis: Blush Placement For Different Face Shapes
Face Shape | Blush Placement | Makeup Effect |
Round | Diagonally from cheeks towards temples | Creates a lifted, elongated appearance |
Oval | On cheek apples, blended in a tilted motion | Gives a fresh, naturally flushed look |
Square | Blended upwards and outwards | Softens the overall makeup finish |
Heart | C-shaped application towards temples | Creates a soft sweep around the outer cheeks |
Diamond | On top of cheekbones, blended towards ears | Highlights natural cheekbone definition |
ALSO READ: Why Is Your Makeup Patchy By Noon? Expert Explains 5 Skin-Prep Mistakes Ruining Your Look
FAQs
How do I know where to apply blush on my face?
To apply the blush in the correct way, you first need to learn about your face shape and highlighting features. Therefore, start by identifying your face shape and the effect you want to create.
Which blush placement is best for a round face?
Although there are many blush styles for a round face shape, applying blush diagonally from the upper cheek area towards the temples is a popular technique. It draws attention upwards and can create a more lifted-looking finish.
Should I apply blush before or after foundation?
For most makeup routines, apply blush after foundation so that it blends smoothly into your base. Cream or liquid blush is generally applied before setting powder, while powder blush is usually applied after the base has been set.